The AWeber integration connects your AWeber account to InboxAlly so the platform can read your contact lists, validate email addresses, and automatically sync seed emails into your audiences — replacing manual CSV imports with a live connection. Once enabled, you get access to InboxAlly’s list cleaning and automatic seed balancing features for every AWeber list you manage.
Before You Start
Here are some things to know before you begin this process.
- This article is about how to allow InboxAlly to read your Aweber contacts.
- You must have a Aweber account to complete this process. To sign up, visit aweber.com.
- AWeber offers lots of documentation about integrations and the access they allow here.
Connect InboxAlly with your Aweber account
You’ll need to authorize a connection between InboxAlly and Aweber.
To connect your Aweber account follow these steps.
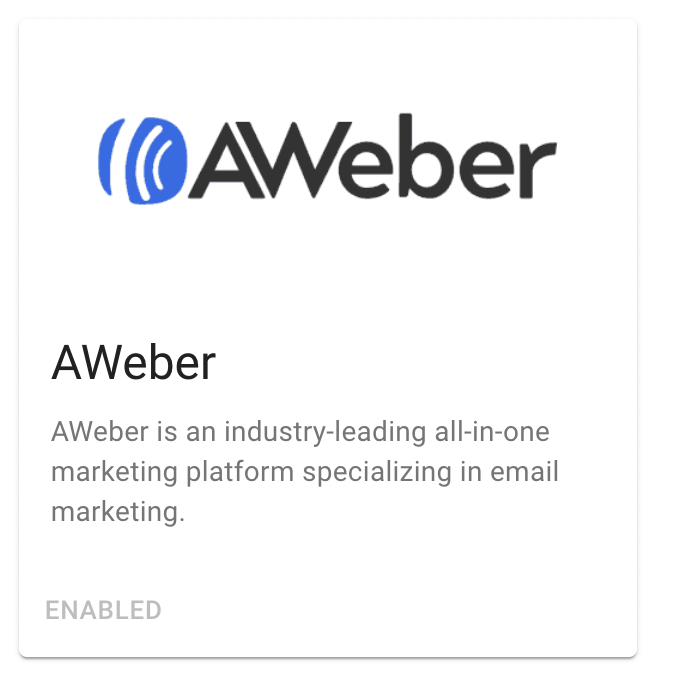
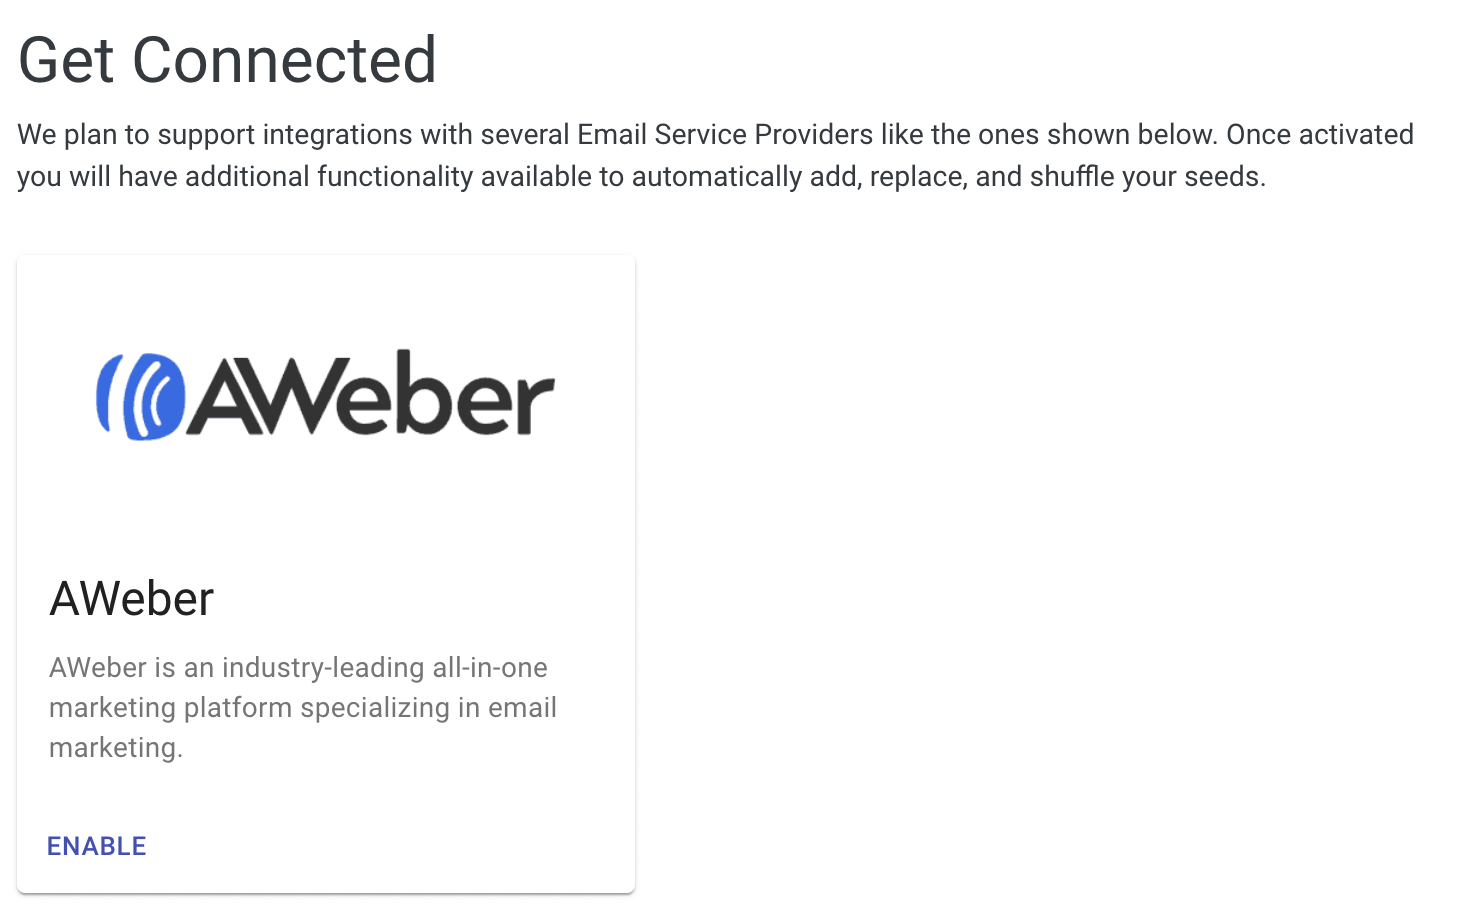
- Click Integrations option under the MyAccount section
- Click Enable on the Aweber card to setup the connection
- Enter your AWeber credentials
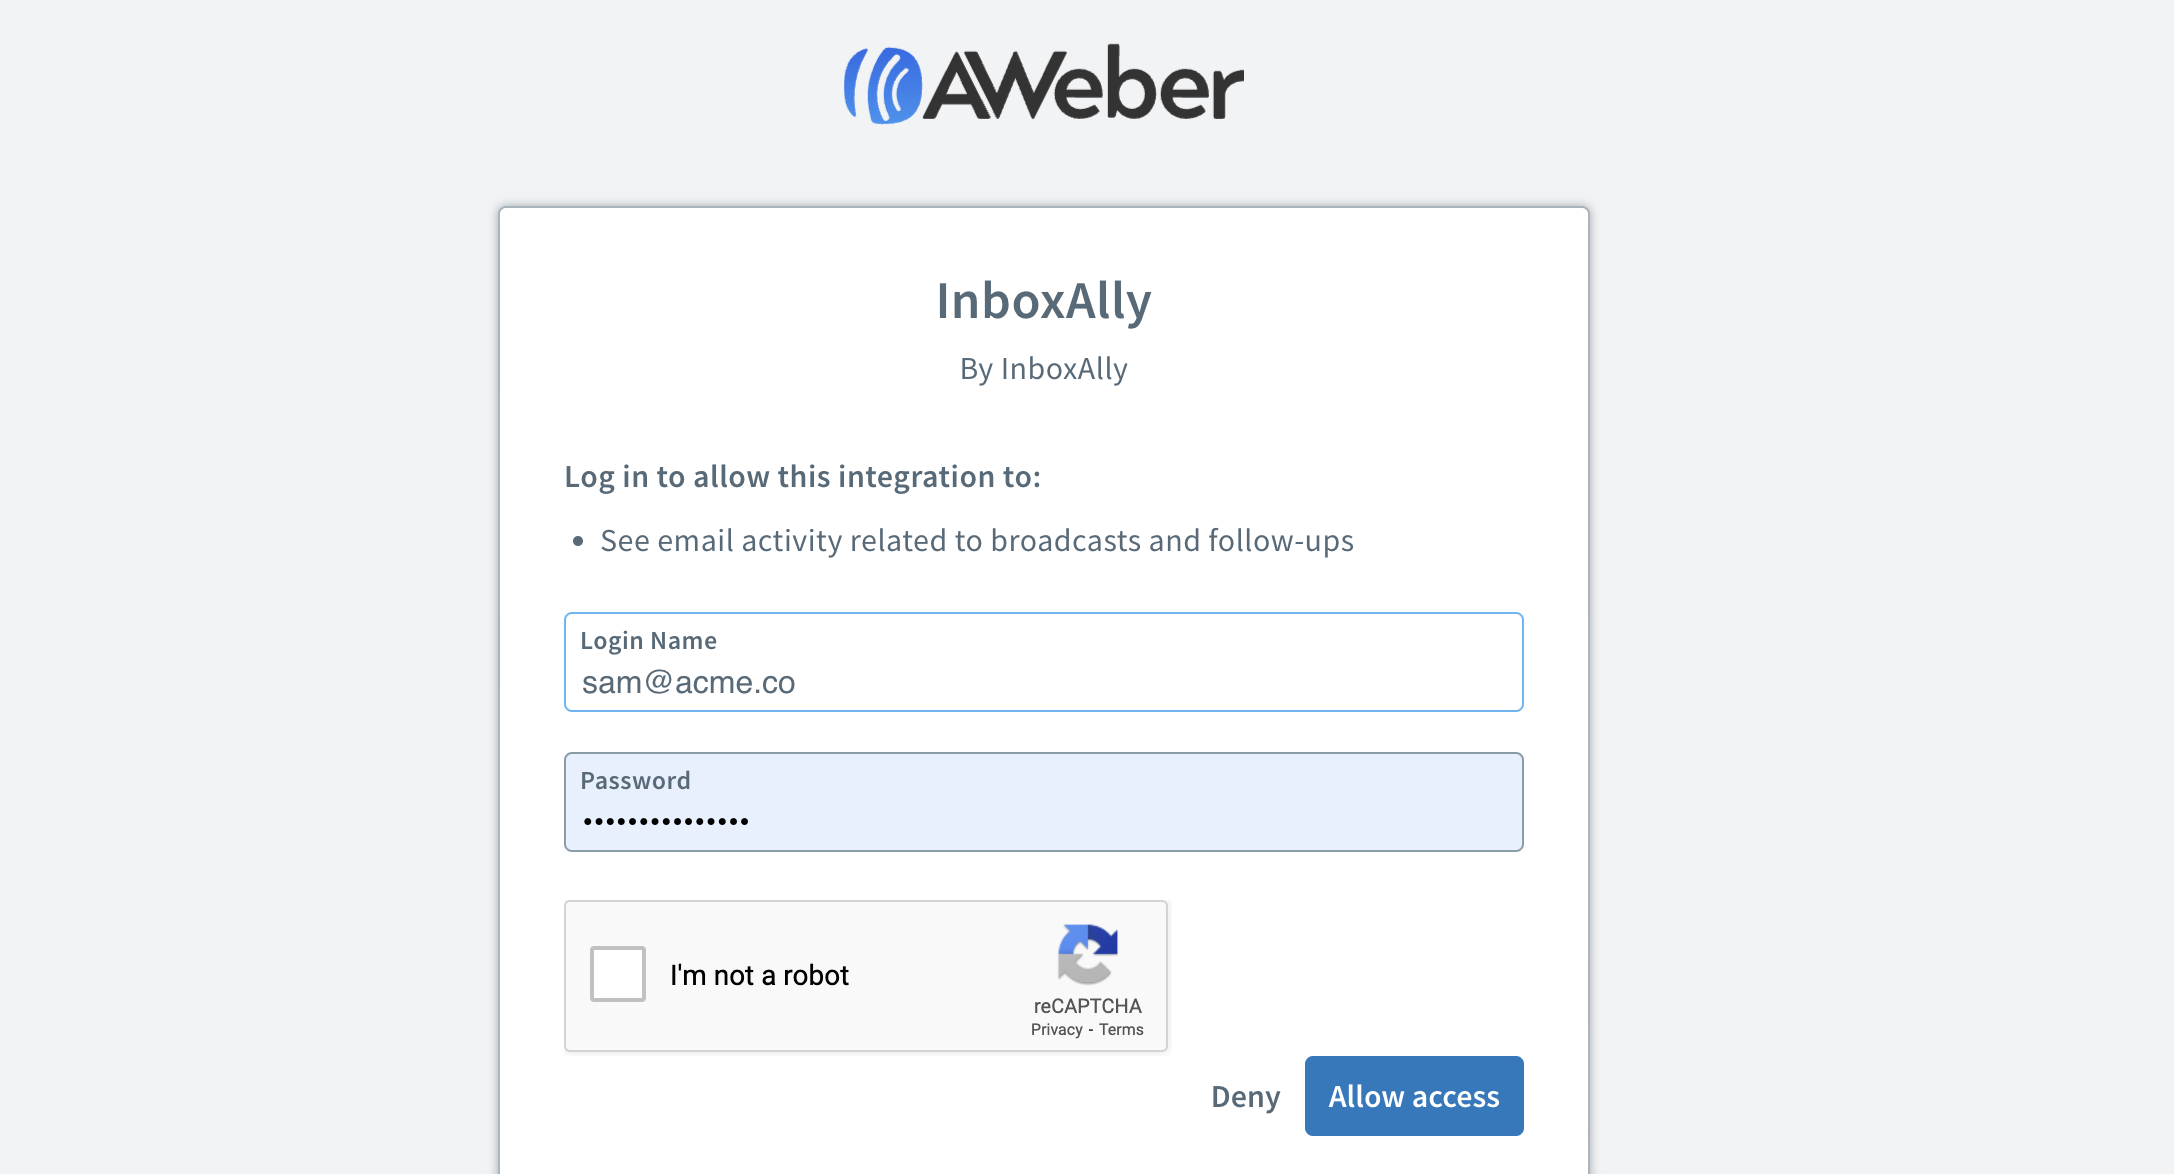
- Authorize the Integration
You’ll return to your InboxAlly account and see that the connection is now enabled.