Using The Setup Wizard To Get Started
Learn how to setup an account with InboxAlly
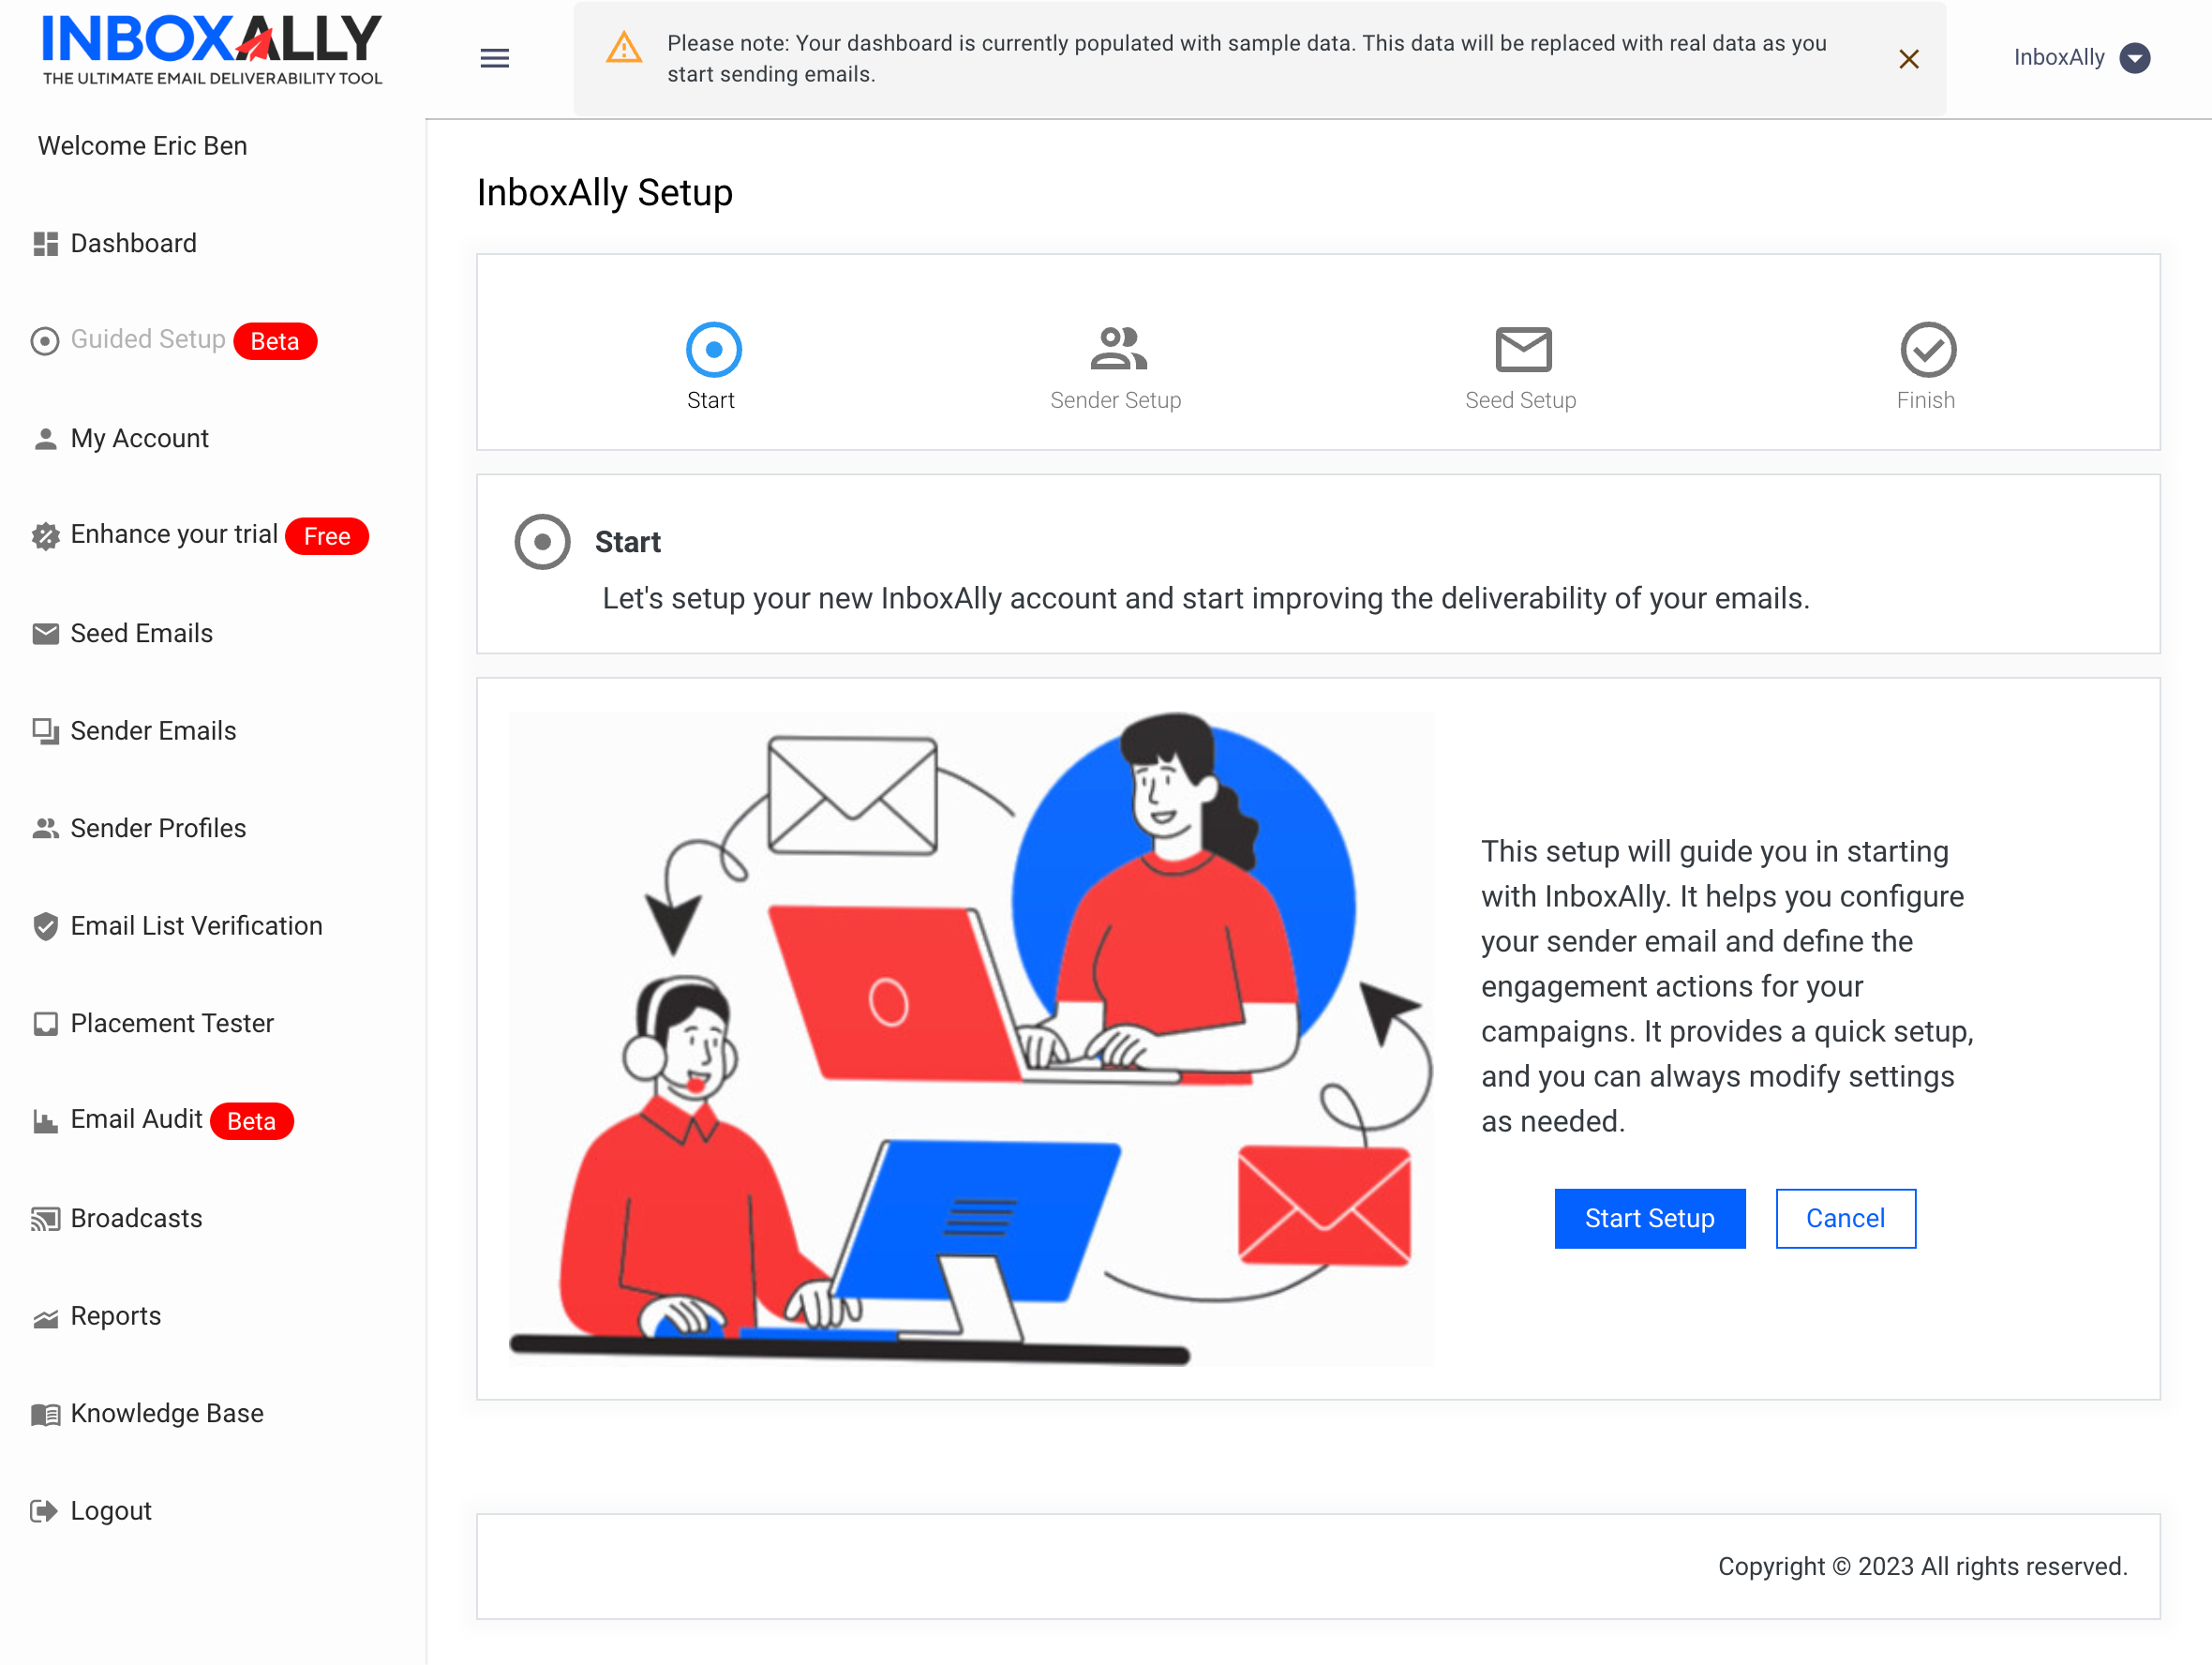
When you first create an account with us, you'll immediately see the InboxAlly setup wizard. On the left side, you'll find a navigation bar, which allows you to find the most important sections within the app after setup is complete. For now, let's focus on setting up your InboxAlly account using the Guided Setup panel that opens after you login. With four simple steps, the setup wizard will guide you through the account creation process. We outlined those steps below, but you can also follow along with this InboxAlly Setup Video as well.
Using the setup wizard is completely optional, but recommended for users who are new to the InboxAlly platform. You can follow our standard setup guide to configure your account and edit any setup choices later.
Start Setup
To get started, click on the 'Start Setup' button. This initiates the account setup process. 
Sender Email Address
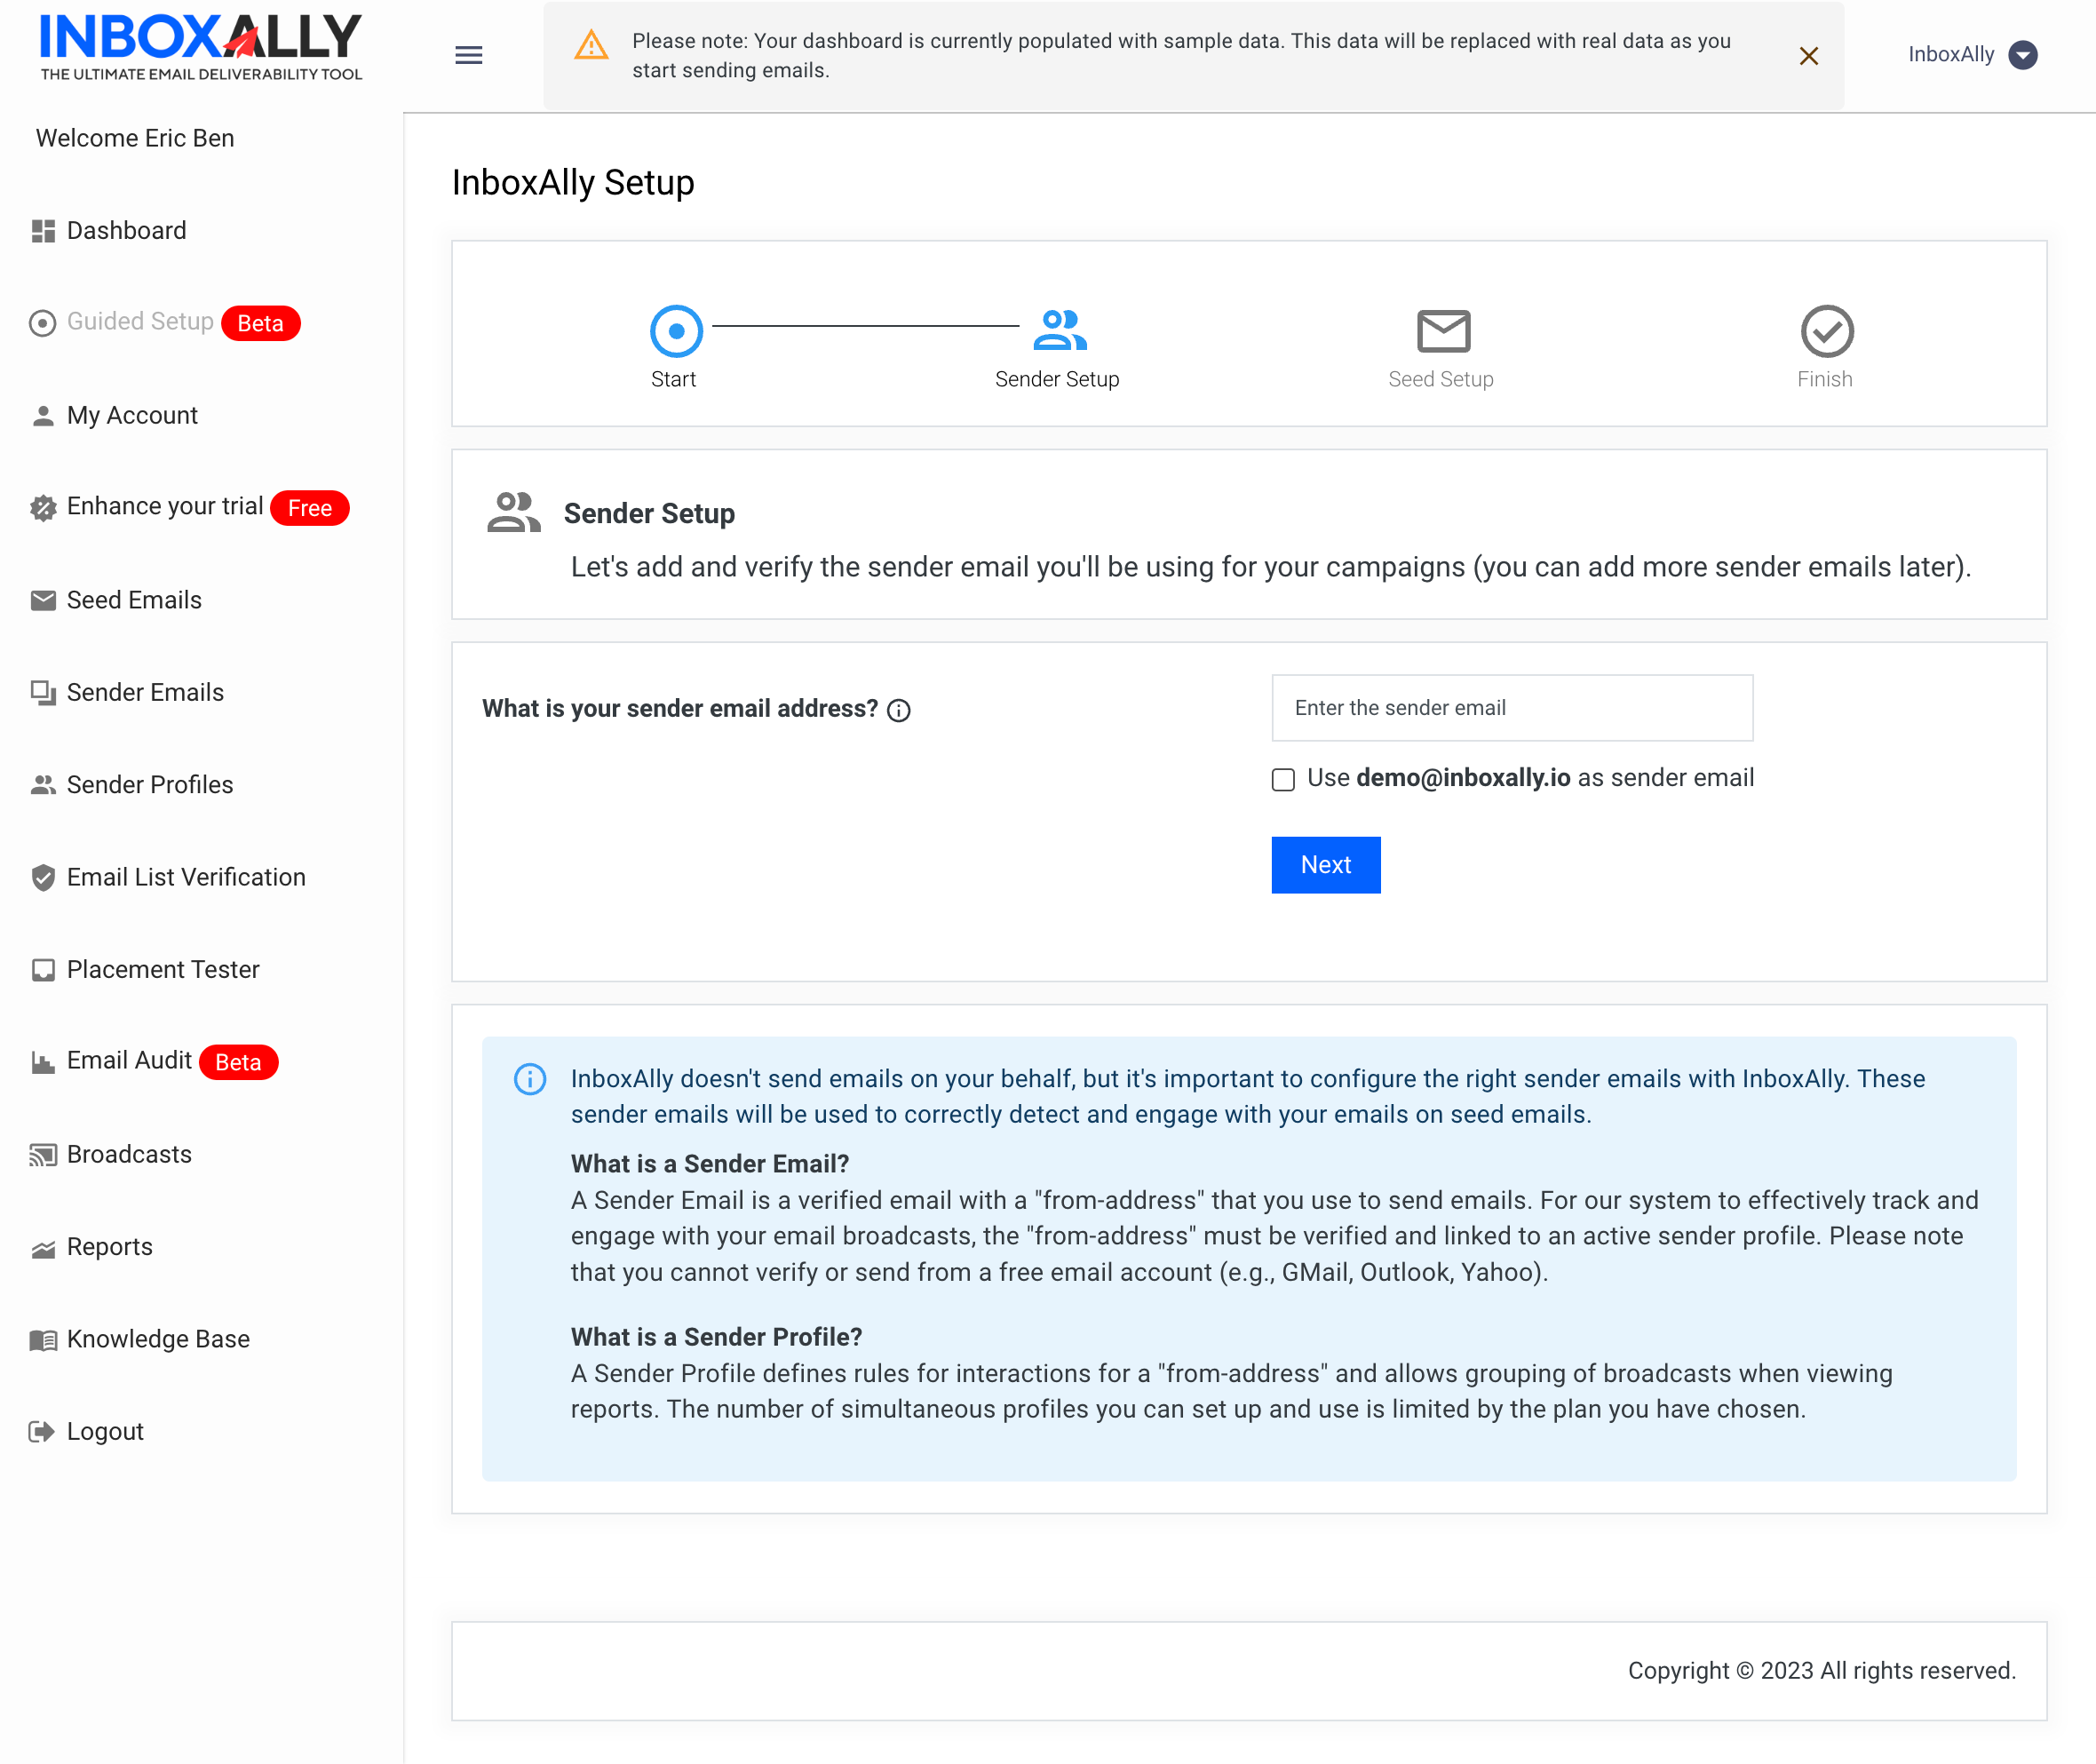
The setup wizard will prompt you to provide a sender email address. This is the email address from which you'll be sending out your campaigns. Don't worry if you have multiple sender addresses, you can add them later. You can also use the same email you signed up with as your Sender Email from-address by clicking the checkbox option.

Seed Setup
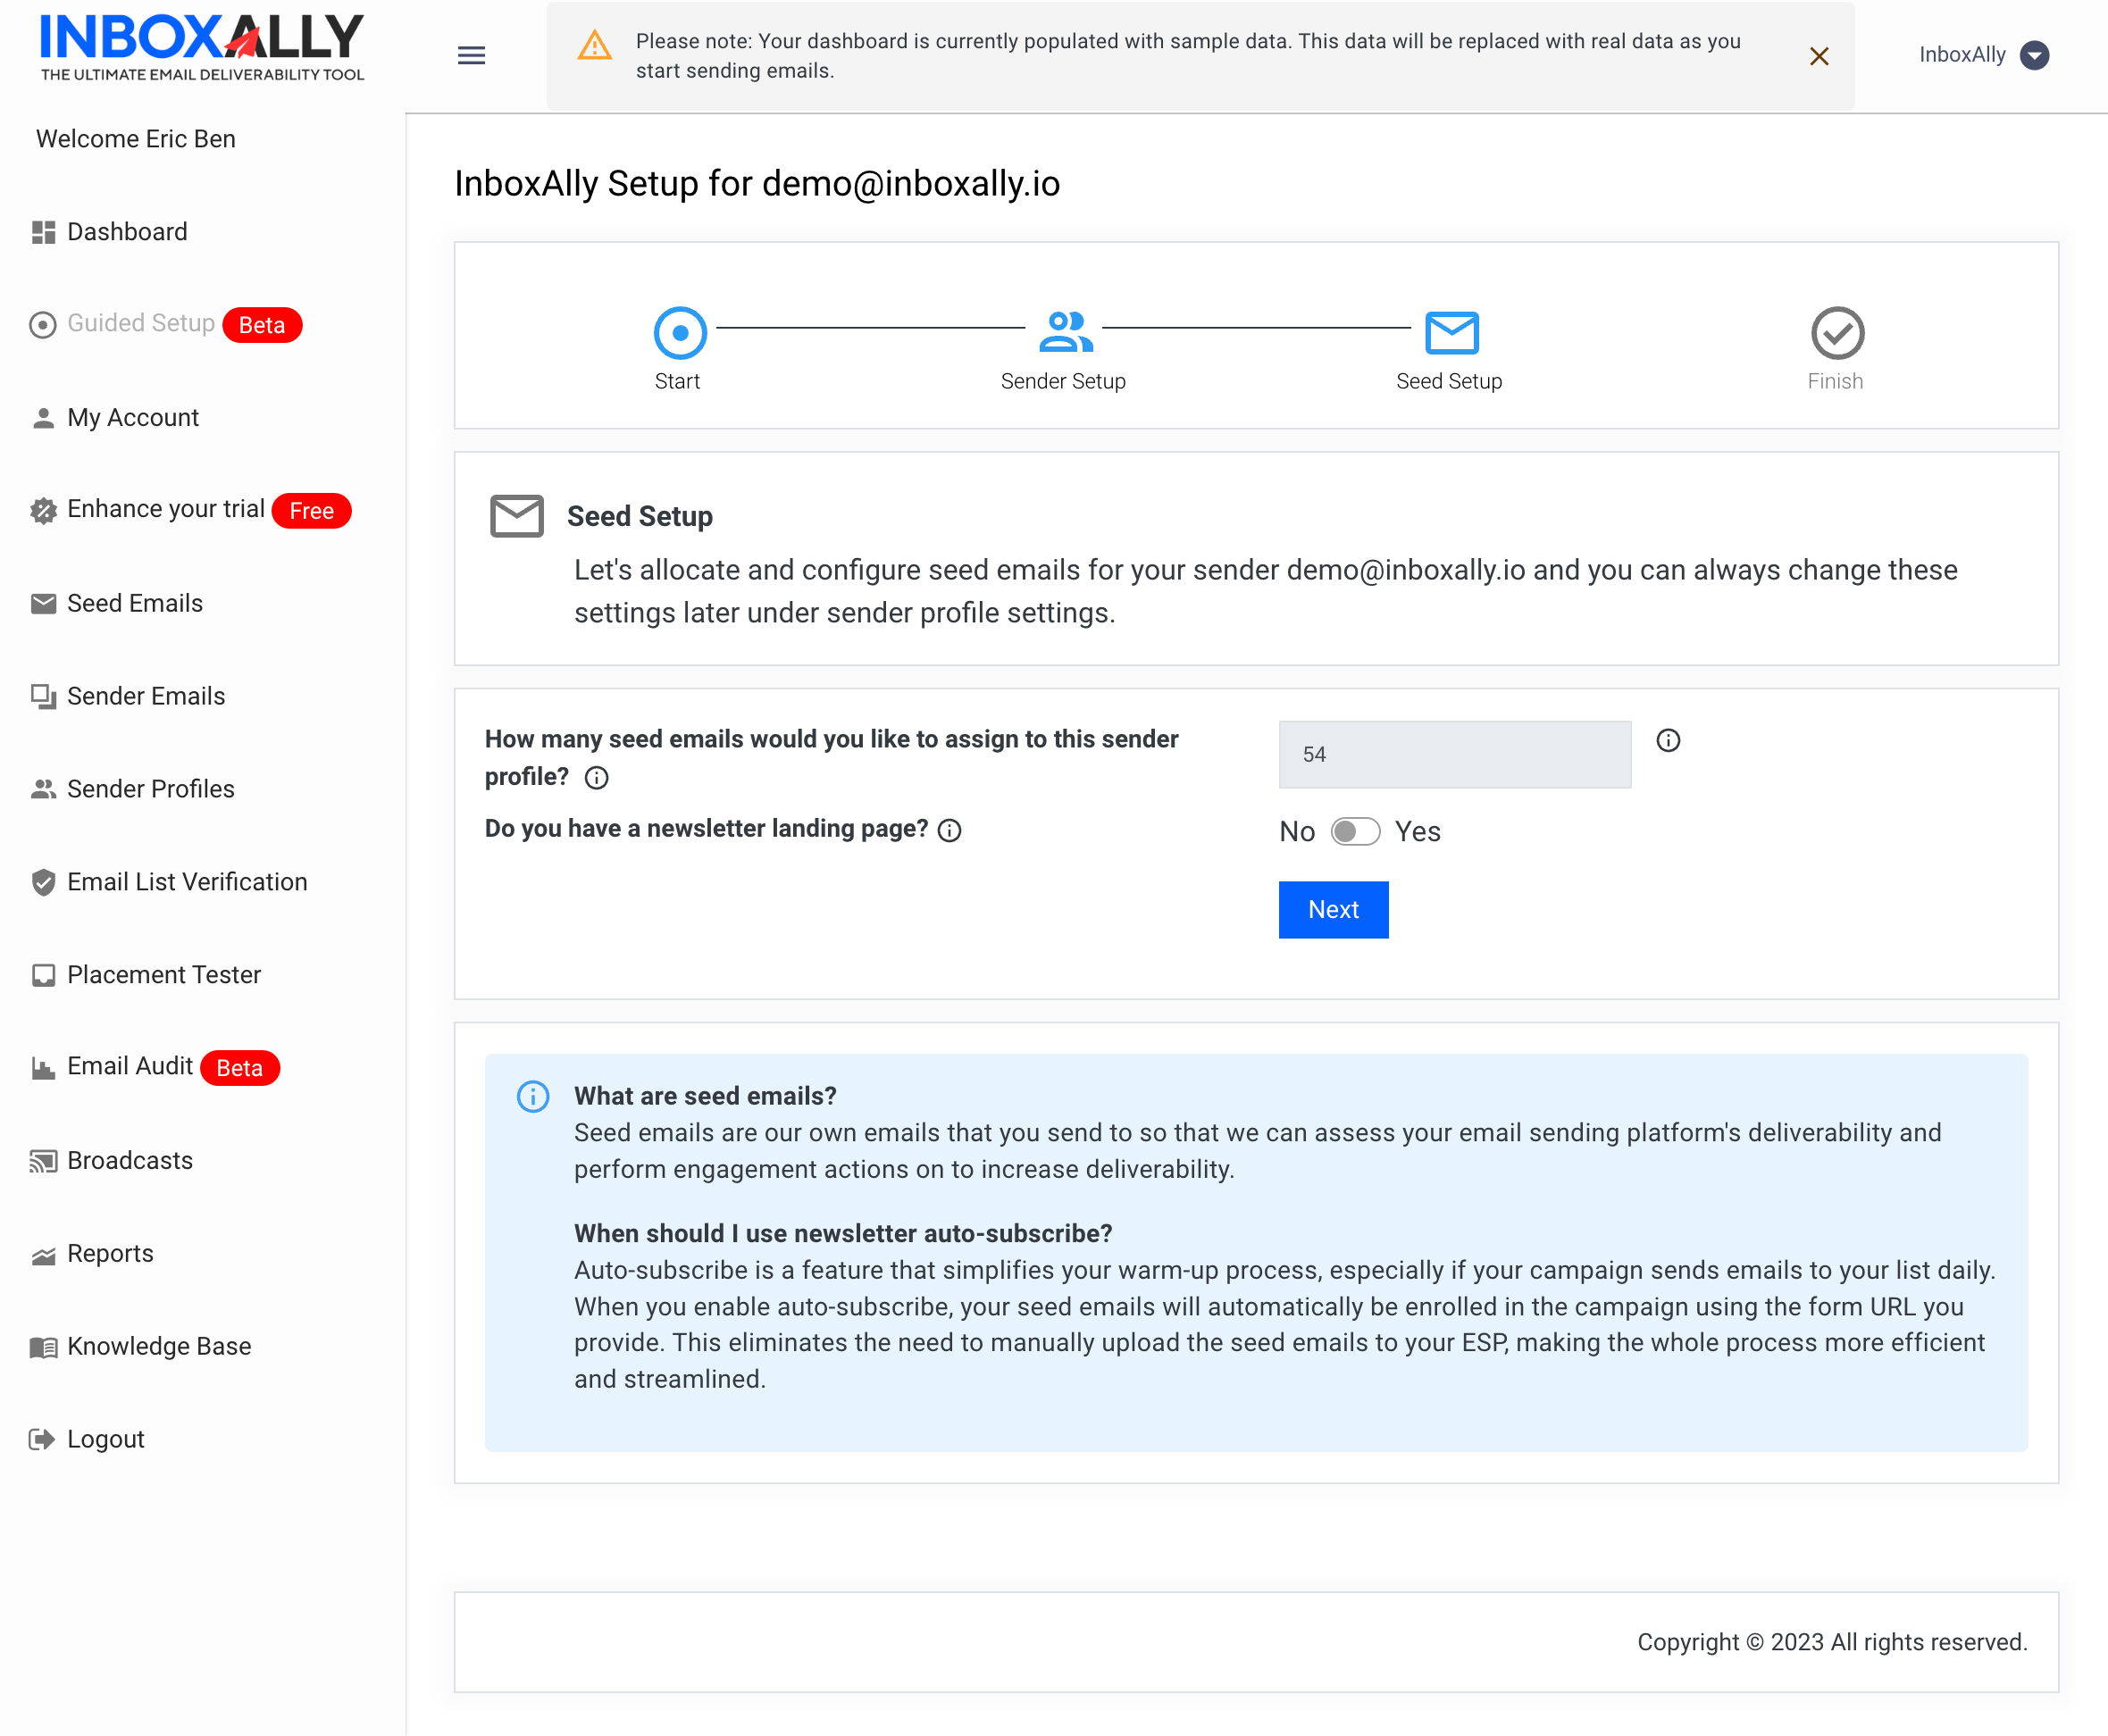
Moving on, you'll come to the Seed Setup - it is during this step that you establish the number of seats or sender profiles your account will have. For new users, you'll typically start with 50 to 100 seat emails, all linked to a single sender profile.
Note: InboxAlly has a feature that allows Seed Email auto-subscribe using your newsletter landing page - this is an advanced feature and if applicable to your use case, please contact Client Support to learn how to activate.

Ready to Go!
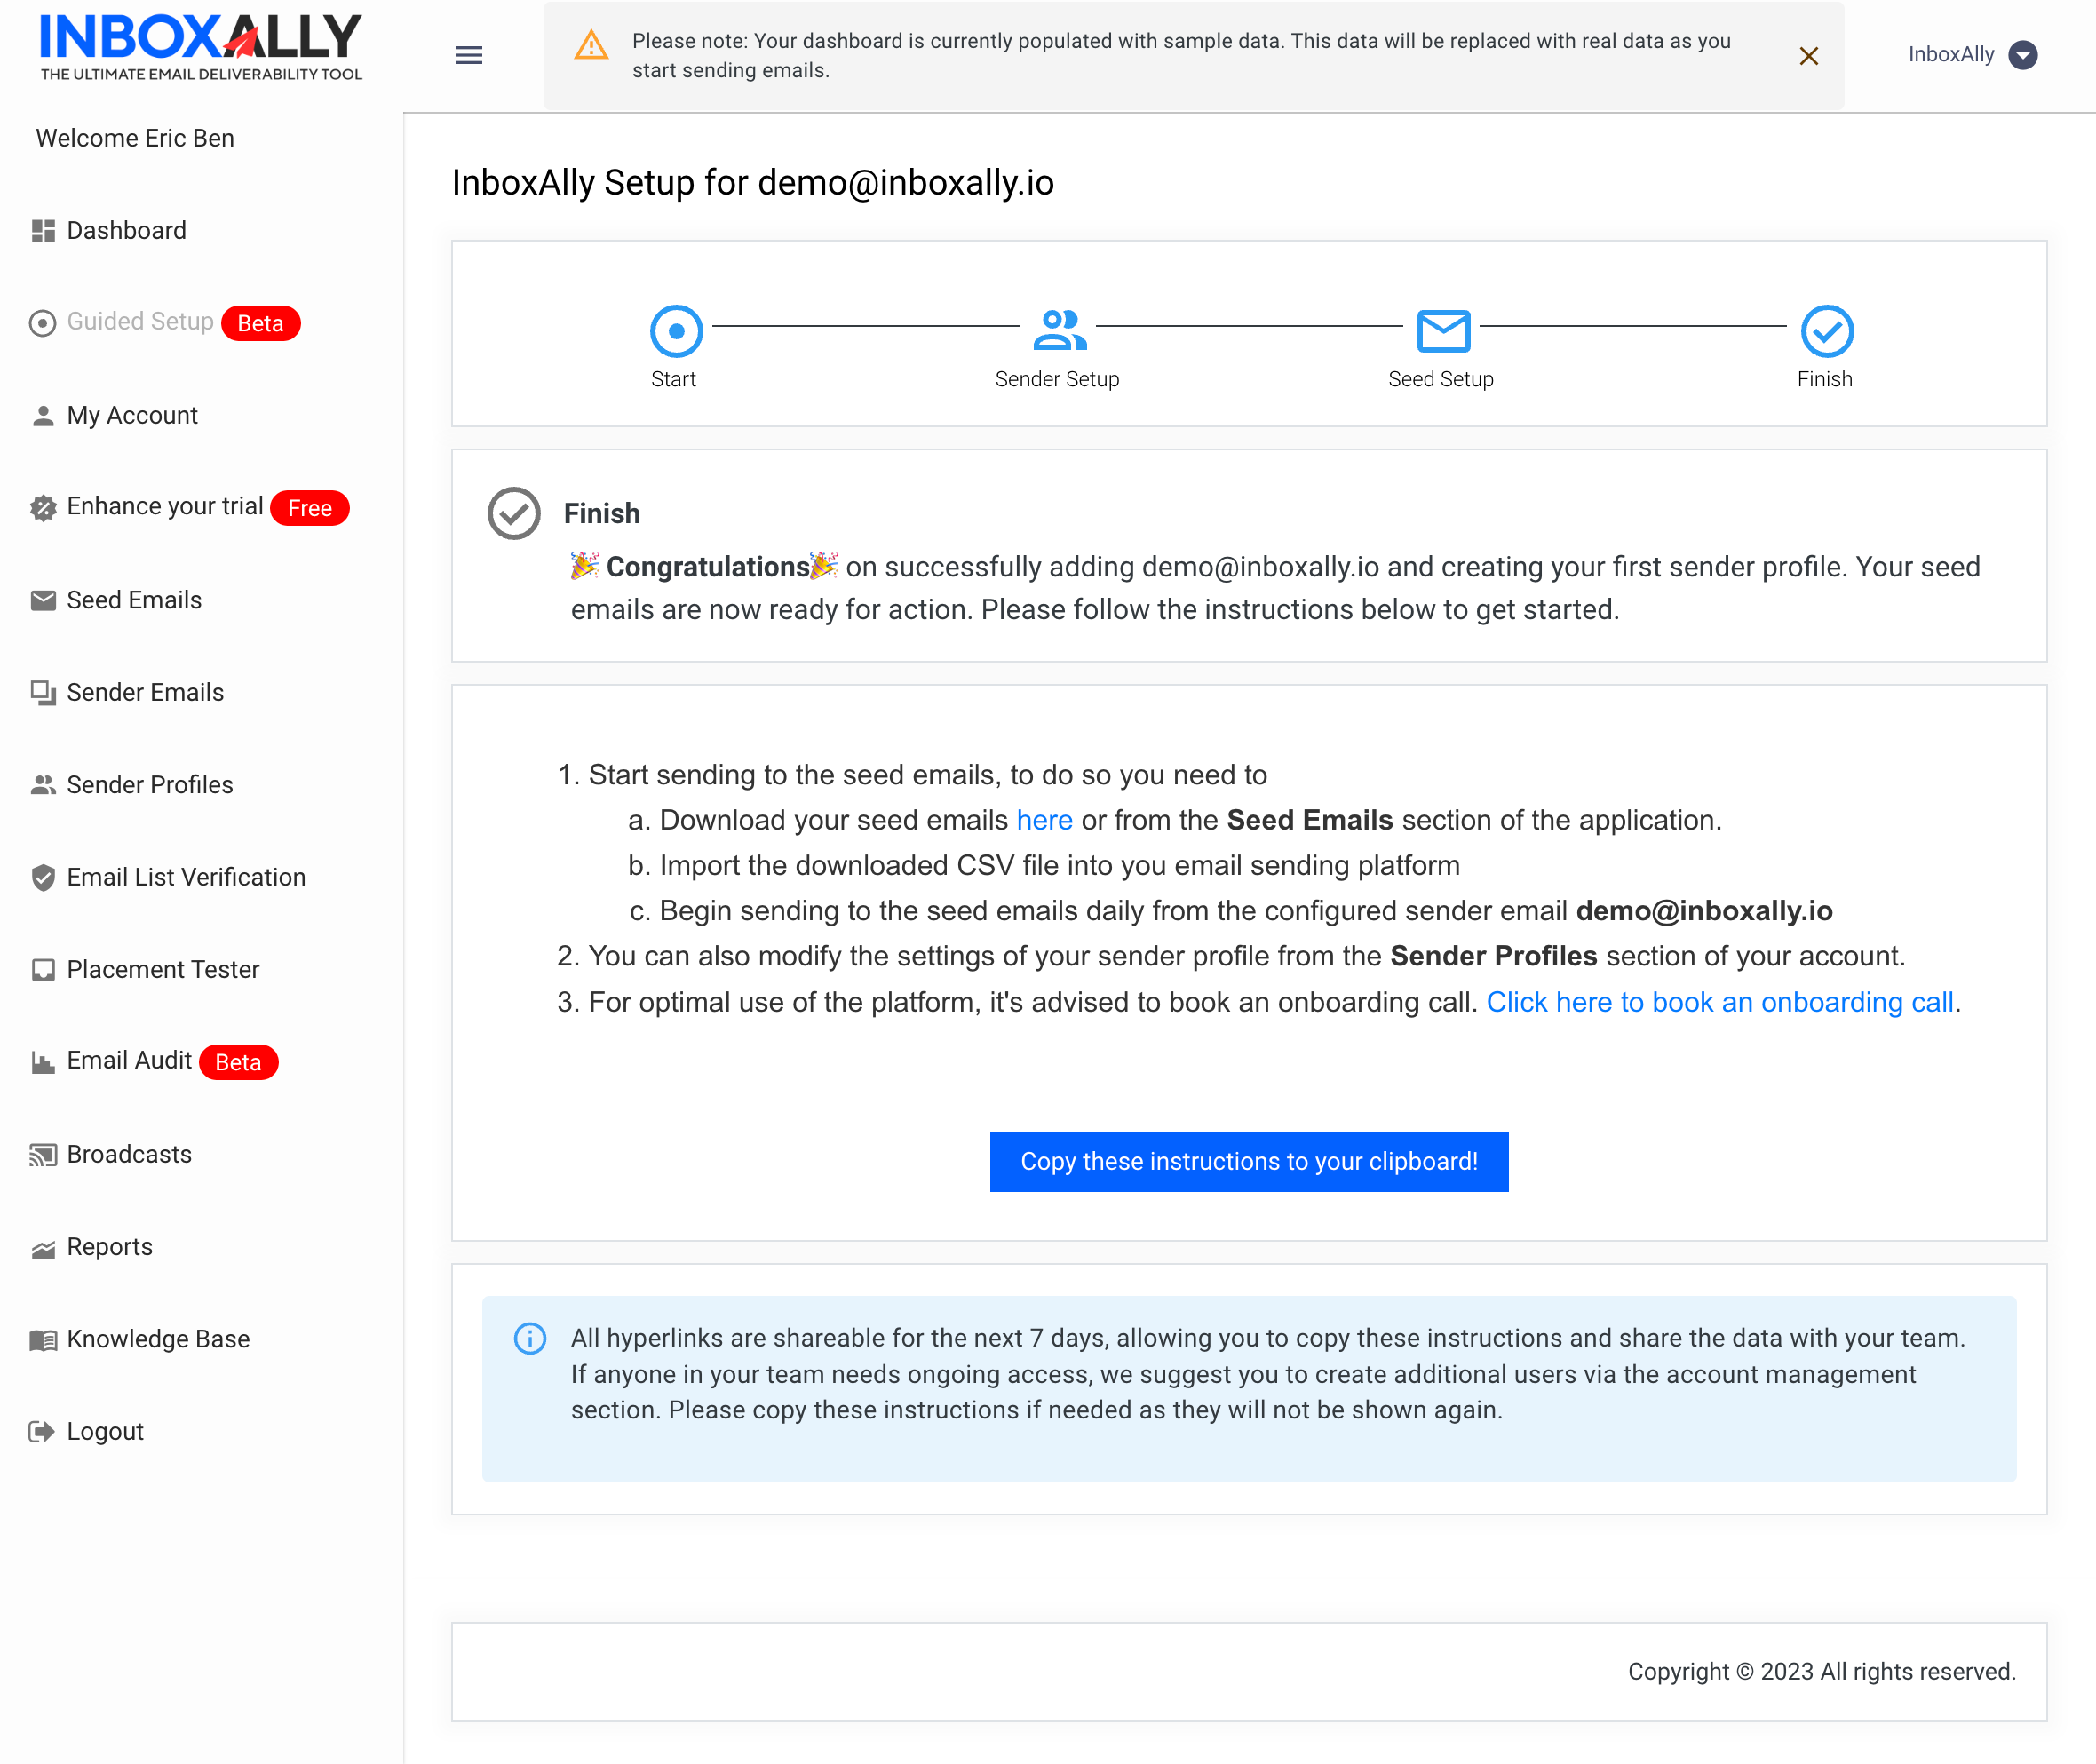
With your sender profile created, your emails are ready for action. Just follow the instructions to download seed emails and import them into your email sending platform as a CSV file. And there you go – you can start sending them just like your regular contacts.

Remember, you can always modify settings in the sender profiles tab. We also recommend booking an onboarding call to help you navigate your new InboxAlly Account.
Feel free to explore our other guides for a more in-depth understanding of the features. Thank you for choosing InboxAlly, and have a great day!